Our Blog
Welcome to our blog, where we share our love for all things art and reproduction! We are a passionate team dedicated to helping people bring their creative visions to life through high-quality art photography reproductions. Our shop offers a wide range of printing services, from fine art giclee printing to custom canvas prints and everything in between. Our goal is to provide our clients with the highest quality prints that showcase their artwork in the best possible way.
An Essential Technique for Selling Photography Prints: Cross Light with Sunlight
At Canvas Giclee Printing, we work with countless photographers who rely on giclee printing for selling photography prints as high-quality art. Over time, one element has stuck out like no other: the most popular photography employ cross lighting...
Exceptional Fine Art Paper Printing for True-to-Life Reproductions
Flawless Fine Art Printing for Galleries, Collectors, and Creators For artists and photographers, every print is a reflection of their creative vision. When it comes to reproducing your work, accuracy matters — from the subtle textures to the most...
Artwork Reproduction Services: The One Thing Artists Can Do to Sell More and Build Lasting Success
How Artwork Reproduction Services Help Artists Generate Long-Term Revenue For artists, selling original artwork is exciting, but it comes with limitations. Once a piece is sold, it's gone, and the artist must create something new to make another...
Photo Prints on Canvas: Celebrating the Artistry of D’Aquisto Guitars with Stunning Giclée Prints
One Photographer Captured the Artistry of Guitars with Photo Prints on Canvas For photographers seeking creative ways to showcase their work, printing photos on canvas provides a striking medium to preserve and share visual stories. Renowned...
How to Elevate Your Weekend Hobby to Thriving Business
Transforming Artistry Into Entrepreneurship: Partnering with Canvas Giclee Printing With the arrival of spring, the air is filled with the promise of new beginnings and opportunities, especially for artists gearing up for art shows, outdoor artisan...
Introducing Canvas Pop Art Gallery: A Symphony of Colors and Iconic Expressions
Excitement fills the air as we proudly welcome the newest member to our creative family – Canvas Pop Art Gallery.
Hey, Artists! February Flash Sale! Canvas Prints 15% Off!
Canvas Prints Elevate Your Work Are you ready to elevate your art to new heights? Here's an exclusive opportunity for you to do just that with Canvas prints! For the remainder of February, Canvas Giclee Printing invites you to indulge in a creative...
What is Giclee Printing? Celebrate the Beauty of Fine Art on Canvas
Unleash the captivating world of giclee printing—coined by Jack Duganne. It revolutionizes art reproduction with high-res inkjet prints, preserving details and colors. Artists share work widely, using archival pigment inks and diverse substrates like matte photo paper, textured vinyl. It’s a new dimension in artistry!
Preserve Cherished Holiday Memories and Display Your Unique Artistry
Preserve your cherished holiday memories and display your unique artistry with a museum-quality Canvas Glicee Print for your home. As the holiday season fades into cherished memories, there's something truly magical about encapsulating those...
Tips for Taking Fantastic Holiday Family Photos
The holiday season is the time when special memories are created with loved ones. These joyous occasions when families gather together to celebrate provide the perfect opportunity to get a stunning family photo. These special moments should be...
How to Make Prints of Your Art on Canvas: Preserve Your Priceless Creations!
Capture the essence of your priceless artwork by learning how to make prints on canvas. Preserve your creations and create digital backups for reproductions. Discover essential equipment and expert tips to photograph your art with precision and transform it into high-resolution digital images. Unlock the potential of sharing your art with the world through stunning canvas prints.
Top Four Reasons Artists Should Reproduce Artwork on Canvas Prints
Artists Should Reproduce Artwork on Canvas Prints Are you a talented artist looking for a strategy that will increase your inventory, expand your client base, free up more time to create while increasing your revenue? As a painter, I’ve been given...
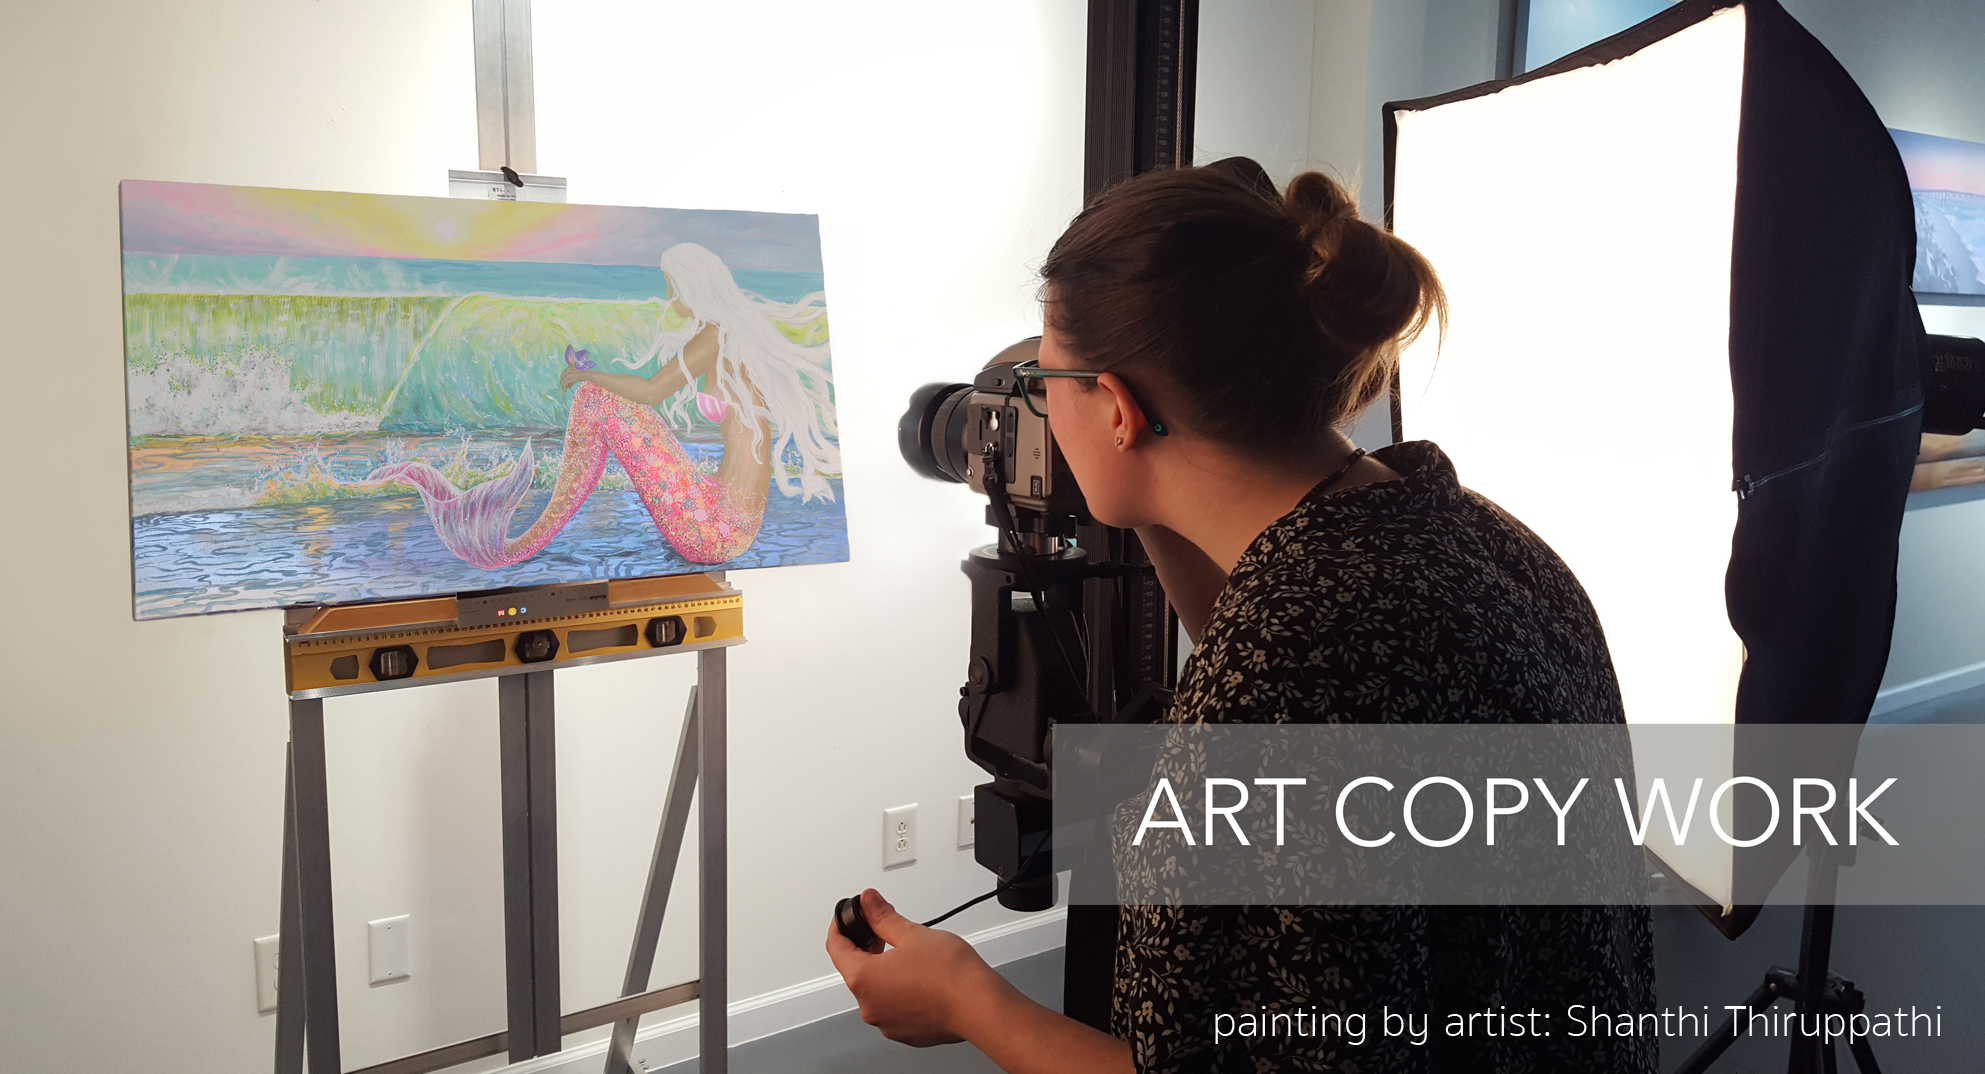
3-D Art Copy Service: Create a High Resolution Digital File
3-D Art Copy Service: Create a High Resolution Digital File We would like to share this very unique 3-d art work that arrived at our studio today! The talented artist Joanna shipped us her original pieces for art copy service. As we unwrapped the...
Giclee Printing: A Real Fine Art Print Process
The association of giclee printing with its conceptual cousin – inkjet printing – has actually led some people to question the validity of this printing medium as a real fine art system. To address this, it is first crucial to take a look at the...
Digital Photo Printing to Canvas – Turn Photos into Art
DCCThe best means to create as well as transform a favorite photo into a striking piece of photo art for display as wall art is to make a canvas print from digital pictures. Digital photo printing to canvas is also useful for custom tailored...
OBA Free Canvas: The Best Print Canvas for Professional Photographers
Giclee printing uses high-quality archival inks and acid-free papers or canvas to produce prints that are resistant to fading and discoloration caused by light, moisture, and other environmental factors. The inks are formulated to resist fading for over one hundred years, and the printing process itself ensures that the colors and details of the original artwork are accurately reproduced. Additionally, the use of pigment-based inks provides a wider color gamut and greater color accuracy compared to traditional printing methods, resulting in prints that are true to the original artwork.
Decorating with Canvas Prints – Innovative Ideas for the Workplace
Decorating with Canvas Prints – Innovative Ideas for the Workplace What is the one thing that most business’s fail to put as a priority? It is the key to first impressions and last impressions. You may be missing this in your workplace. It is your...
Tips for Decorating with Fine Art
Are you looking to change up your home decor? Decorating with fine art canvas prints is a sure way to spruce up your walls! Consider the following tips when deciding on a piece of wall art. Look around and observe the colors, styles and mood of the...
Secret to Selling Photography at Art Shows: Offer Canvas Prints
Art shows are special events where photographers get to represent their body of work to the public. Only during an art show can a photographer display a full gallery, show off personality, tell their artistic story and shake the hands of customers....
Office Wall Art: Is Your Corporate Art Sending the Right Message?
Art has the ability to alter moods and talk to you. It has been scientifically proven that our physical surroundings affect our emotional state. High quality business art is an untapped resource that you can use to your advantage, especially if you...
Transform Your Living Space into an Enchanting Haven with Mesmerizing Wrapped Canvas Wall Art
Elevate your living space to extraordinary heights with exquisite, wrapped canvas wall art. Immerse yourself in a world of personalized creativity, where your own artwork or cherished photos take center stage. Control tones and colors to harmonize with your decor, adding a touch of sophistication and allure. Showcase your talent and captivate your guests with stunning custom pieces. With Canvas Giclee Printing, the power to transform your home into a breathtaking masterpiece is at your fingertips. Indulge in the luxury of exceptional craftsmanship and unlock the potential of your walls with mesmerizing, wrapped canvas wall art.
Interior Design Projects with Canvas Prints
Interior Design Projects with Canvas Prints The team at Canvas Giclee Printing is proud to announce their part in the transformation of AG Credit Bank in Merced, California. Our fine-art printing company was hired by Bill & Brigitte Clough of...
Art For Commercial Spaces, Buildings and Offices
When decorating with art for commercial spaces, art directors have the power to completely transform the look and feel of a space through the use of canvas wall art. In fact, the selection of commercial art for buildings, offices and retail spaces...
Top Reasons To Print Your Pictures On Canvas
Professional Photographers: Save Time, Money and Increase Sales by Printing Your Images on Canvas Produce Timeless Inventory by Printing Your Photography on Canvas A sure way to give your amazing photography justice is to reproduce it as a museum...
Triptych and Diptych Canvas Prints
Diptych and Triptych Canvas Prints Are you looking to make a statement a on your wall? Take your home's art to the next level by printing gallery-wrapped diptych (two prints side by side) or triptych (three prints side by side). There is something...
The Psychology of Color in Interior Design
The Psychology of Color in Interior Design Everyone loves the creative challenge of turning a room into a comfortable living space. We all like a change in some manner, whether it be re-arranging the furniture or deciding to paint the walls for a...
Underwater Photography Tips for Printing Images on Canvas
Underwater Photography Tips for Printing Images on Canvas Life under the sea is intriguing and refreshing to us land dwellers, and hopefully the underwater photography tips provided here will open a portal to life beneath the waves while providing...
Capture Spring with Pictures Printed on Canvas: Birds, Butterflies & Flowers
Capture Spring with Pictures Printed on Canvas: Birds, Butterflies & Flowers Springtime is here again and with this change in season, the beauty of nature comes alive. And now thanks to the fantastic digital technology employed at Canvas Giclee...
Canvas Prints for Father’s Day
A fathers love is strong, loyal and unbreakable. Father’s Day is the day when this love should be reciprocated. If you are a daughter…
Surprise Mom With a Mother’s Day Canvas Print
There are many forms of love. But there is only one love that is unbreakable and that is a mother’s love for her child…
Customize Your Canvas Prints: the Easiest Order Experience on the Web
Are you looking for a printing company to turn your work into stunning canvas prints? There are several canvas printing companies online which offer print reproduction services but fail to create a simple and efficient ordering process for...
How to Turn Holiday Photos into A Canvas Gift Keepsake
Are you looking for a unique, sentimental, and forever lasting holiday gift? A personalized canvas print is the perfect type of gift to give your loved ones. Whether it be a group family portrait or a spontaneous moment captured on camera, you can...
Capture Your Pets Personality On Canvas Prints
Capture Your Pets Personality On Canvas Prints When our pets play with their favorite toys, run wild and free in nature, or give you the doughy eyed look, one cannot resist taking snap shots of those moments. A popular way to eternalize these...
Jim Brown Wildlife Photographer
Expert Wildlife Photography When it comes to photography there is a plethora of subjects and styles of shooting, however, for Jim Brown, the outdoor wilderness is where he likes to call “home.” Jim Brown is an exceptional Award Winning nature...
Starting to sell your artwork
For new artists or perhaps those who are looking to turn their passion into a full time profession the question will inevitably arise; what’s the best way to start? Who do I contact about it, and where do I go from there? Well to begin with, it...
Lighting Resources
Arri group, maybe best known for their Alexa camera, also makes some of the best lights out there. To assist their customers with going through the paces of lighting, they created the Arri Lighting Handbook, a comprehensive resource on lighting for...
10 Tips for the Aspiring Photographer
How to Take Professional Pictures: 10 Digital Photography Tips from the Pros In today’s world, most cameras are able to make up for and compensate for random and common human errors. However one thing a camera will probably never be able to do is...
Cross lighting with the sun
An important technique for any photographer is being able to balance and crosslight sunlight, unless of course you plan to take all of your pictures and night!Before we learn how to tame sunlight, let’s take a look at what TTL, on-camera fill flash...
Artist Spotlight: Mandy Johnson
Good morning everyone, we here at CGP hope all of you here in the US enjoyed the holiday weekend.Living at the beach Labor Day marks theParty PLatters Fine Art by Mandy Johnson turning point in the year when the hotels, restaurants, and parking...
Artist of the Week: Robyn Joy Chapman
It’s a new week and that means a new artist brought to you from us here at Canvas Giclee Printing. Today’s artist is Robyn Joy Chapman, a wonderful contemporary artist we think you’ll love just as much as us.Robyn Joy Chapman was born in Sydney,...
Improve Your Work With Improved Computer Calibration
We have gotten questions here at the studio from photographers asking why their clients and their fans vocally praise their work, professionalism, and printed images but rarely, if ever purchase photographs online or use proofs sent digitally....
Photographer of the Week Spotlight: Jim Brown
Good morning art and photography lovers! Today we will be showcasing photographer Jim Brown (not to be confused with the ex-NFL player-now commentator) and his wonderful and award winning wildlife photography.“Bald Eagle Fight” For over forty years...
Artist Spotlight: Nancy Tilles
This absolutely stunning triptych canvas giclee print is of Nancy Tille’s “Loggerhead Journey” and breaks our ruler at an amazing 17 feet long! Her original work is oil on canvas, measures 108″ long by 48″ high, and has some of the richest, most...
Traditional Photo Paper or Canvas Giclée?
This is a very common question we get asked and is one that goes without saying is almost as important as the work done in creating the artwork or photograph. The print is the final showpiece of the work and must reflect all the intricacies and...
Artist of the Week: Anne Cunningham
Happy Monday digital universe! Starting today we here at Canvas Giclee Printing will be spotlighting a new artist or photographer every week. If you or anyone you know would like to be included in our weekly spotlight please contact us, we want...
Digital Artist Stephen Harlan
Digital artist Stephen Harlan’s unique style is inspired by his love for the water. His passion for all things nautical began as a young boy when his family moved from rural Minnesota to Fort Meyers, Florida. Steve learned to sail and, as he...
Nature Photographer Geoff Coe
One of our favorite customers, professional nature photographer Geoff Coe, is living his dream. After working as a wedding and commercial photographer for many years in Washington, DC, Geoff shed his suit and moved to southwestern Florida in 2004....
Artist Profiles: Lisa Sutherland–The Story Behind the Painting
It was April 6, 1975 when Derick Prince, an international bible teacher, made the statement that would come to provide the meaning behind Lisa Sutherland’s most recent painting, Eastern Glory Cloud. Sutherland paints live in front of an audience...
Photo on Canvas of Dubai Camel
This camel photo printed on canvas is definitely a conversation piece! Here is the story behind this amusing canvas print. While photographer Joshua McClure Camel Photo on Canvaswas traveling in Dubai he hired a young Arab boy to drive him 100...
How to Hang Our Canvas Prints
Our canvas prints are ready to be hung on the wall once they leave our shop. We want you to hang them so they look great. Here are a couple of different articles from Popular Mechanics on how to properly hang frames on a wall. I hope they are...


